West Mountain Radio - PWR Check - Installation
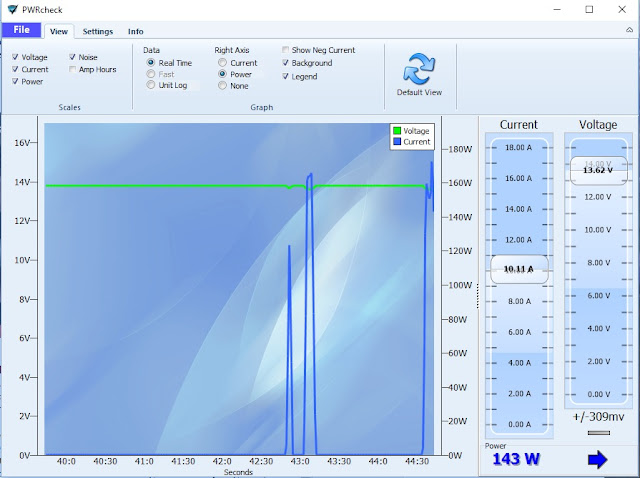
The installation of the PWR Check was simple enough, I decided to solder the connectors to the power leads which is better than crimping in my opinion. It was also a good excuse to get the soldering iron out and warmed up. Everything went to plan and I decided to place the PWR Check in line between my PSU and RM KL 405 amplifier. I made a video which shows how I chose to set up the latest tech from West Mountain Radio which as you will see works really well with a lot more than expected in the way of accurate readings on a very nice built in display and also as software on the computer monitor.
As you can see from the video the PWR Check has lots of great features and is very easy to use and navigate through the different displays. I especially like the Wattage output reading which will be really useful when running my small linear amp, the different choice of displays are pretty cool and I can see the amp hour display being very handy out and about during mobile or portable ham radio operations. Yep so far on my first play I like it very much and think it is an excellent addition to the shack, not only for its usefulness and accuracy as it looks very cool illuminated next to my model tower. A shack upgrade for sure! I also like having the option of using the software which seems simple enough to read and understand the data but the best bit is defiantly the Watt meter. Lets hope it encourages me to press the PTT a bit more and create a few nice readings as I call CQ Dog X ray somewhere on the bands (probably 20M).
Well that is all for now, I will post more about the PWR Check as I get to grips with it and fully utilize all of the other features. I am liking it so far and feel over the moon in getting the opportunity from West Mountain Radio to be one of the very first radio amateurs to put the latest amateur accessory for 2017 to the test here for you guys to see for yourselves. Best 73 Happy Ham ing


Comments